- All-In-One Beekeeping for the Bees
- +1-608-728-8233
- info@beepods.com
BEE DETECTIVES: THREE STEPS OF DIAGNOSING A DEAD-OUT

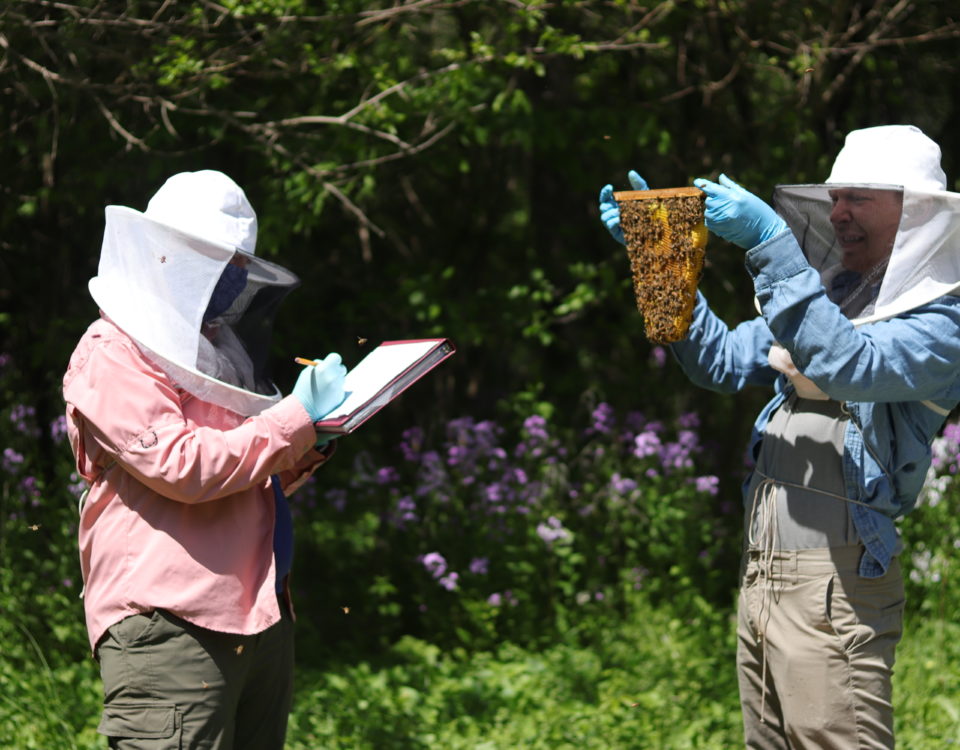
Investigating a dead-out bees

Investigating a dead-out bees
Teenagers love mysteries. You can see this in the popularity of TV shows like True Detective, Law and Order, Sherlock, and CSI. Teachers can tap into this interest as they work with their students to figure out why their bees didn’t survive. While it doesn’t take the sting out of losing your beloved bees, it can help to keep them engaged in learning. In the beekeeping industry, this death of a hive is called a dead-out. Diagnosing a dead-out will help you learn from your mistakes and determine whether you can re-use your old comb.
The Usual Suspects: One of the primary causes of hive failure is a viral disease brought on by a mite with a true villain’s name: Varroa destructor, aka Varroa mites. This parasite is present in all hives across the U.S. and most of the world and needs to be managed. When diagnosing a dead-out, another suspect is “spring dwindling” which is when bees die in March or April and honey is present. If the emergence rate does not exceed the death rate you can end up with a neglected brood and eventually colony failure.
1. EXAMINE THE ENTRANCE
- A pile of dead bees suggests possible pesticide poisoning. Look to see if the bees’ tongues are sticking out. If so, they may have tried to leave the hive all at once and perished in the entrance.
- A few dead bees? No problem. Middle-aged “undertaker” bees removed dead bees from the hive.
- If you see chalk-like “mummies” at the colony entrance or in open brood the culprit may be chalkbrood – a fungus which rarely kills colonies but can weaken them and lead to reduced honey yield. Affected larvae change from white to grey to black. The black ones are what you are likely to find outside of the hive.
2. STUDY THE BOTTOM BOARD
- Cold or sick bees fall to the bottom board and die. If the cluster was too small, the bees may have become paralyzed by the cold and fell down.
- Piles of bees directly under the cluster can be a sign of Parasitic Mite Syndrome (PMS) so check for mites. Your bottom board might be solid red with mite bodies. Students should do counts of mite bodies if they are present.
- Remove the hive bodies from the bottom board so you can see what is on it.
- Huge piles of wax fluff indicate that the colony was being robbed. You might even find a dead mouse or mouse nest on the bottom board. Next winter be sure to invest in a Beepods Winterizing Kit which includes mouse guards.
3. LOOK AT THE FRAMES
- Go frame by frame to count the percentage of pollen and count the bees that may have starved.
- Look for signs of too much moisture such as mold or fungus.
- Then have students create graphs, hive maps, and diagrams.
- Use the illustrations to try to determine the cause of the dead-out.
Figuring the cause of your bees’ demise is essential but can be emotionally difficult for students. In the Boston area, environmental vocational teacher Greg Gaudreau, a teacher at Southeastern Regional Vocational Technical High School, says that investigating dead-outs builds problem-solving and critical thinking skills. “I’m not going to lie, it can be difficult for students and instructors, too. Seeing their bees not make it through the tough New England winters can be demoralizing but I use it as a teaching tool. We’re fighting for our bees and we tried our best.”
Resources:
https://americanbeejournal.com/diagnosing-a-dead-out/
https://beeinformed.org/2013/11/01/chalkbrood/
https://www.beelab.umn.edu/bee-squad/resources-beekeepers/varroa
https://www.beepods.com/113957-2/
https://www.hobbyfarms.com/month-by-month-beekeeping-2/
Bill Polacheck
Latest posts by Bill Polacheck (see all)
- Level Up with a Beekeeping Course - September 15, 2020
- Beepods Harvest Box: Helping Your Bees Survive the Winter - September 8, 2020
- Simple Ways You Can Communicate Like a Bee - September 1, 2020


