- All-In-One Beekeeping for the Bees
- +1-608-728-8233
- info@beepods.com
Don’t Do A Fall Hive Inspection Without Reading This Blog


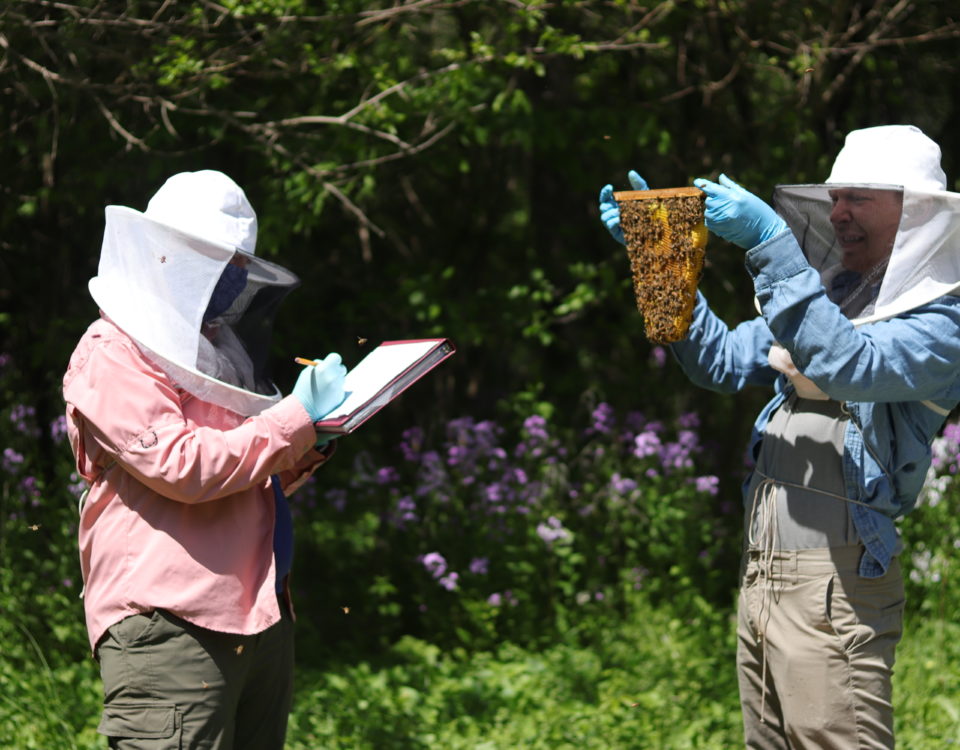
Fall hive inspections are the most important visits you’ll make to your hive all year. They’re when you can see just how well your ladies have been preparing for winter and an opportunity for you to step in and lend a hand where they might need it.
In this blog, we’ll share our top fall hive inspection tips. By the time you’re finished reading, you’ll be ready to visit your bees and perform a thorough and informed inspection!
Start Winterizing Now
It may not feel like it just yet, but winter will be here before you know it. Help your bees stay safe and protect their honey stores by stepping up hive security at this inspection. Place your mouse guards inside the hive so that little critters can’t make it their winter getaway. If you have a Beepod, place your corks in open entrances. The Fall Hive Inspection tips video in Beepods Lab, has more helpful tips on securing hive entrances.
What’s The Honey Situation?
Fall is when your bees are really kicking honey production into high gear. You’ll notice your bees move their honey into one part of the hive, usually near the entrance. They set up their honey stores this way to create a more insulating environment when they cluster to heat the hive.
As you inspect the hive, note how much honey your bees are storing and where they’re placing it. If you removed honeycomb earlier in the season and saved it in a Beepods Harvest Box, now is an excellent time to give it back to the ladies. Some of your bars have empty comb or empty space, and you should take them out of the hive. This will give your bees less space to heat. Less heating means less of a need for food and resources, which means better chances for your bees to survive the winter.

Supplemental feeding helps to boost your bees’ nutrition and honey production as they head into winter months.
Supplemental Feeding
A lot of flowering plants no longer bloom come October. But with plenty of sunlight and moderate temperatures, your bees are still looking to forage and make more honey! They may need some nutrition assistance and help to build honey stores for winter. In that case, you can help them with supplemental feeding.
Giving the bees a mixture of sugar and water during your fall hive inspection will provide them with the boost they need. In our Fall Hive Inspection tips video in Beepods Lab, we walk through how to prepare and serve a supplemental feeding solution for your thirsty colony.
Curious Comb
Because your bees have been so dutifully cranking up their honey production, they know their comb is getting heavy. Sometimes, they’ll build brace comb, attaching a bar of comb to the hive wall, to stabilize honey-filled comb. If you need to remove a bar with brace comb, don’t fret! Use the Beepods Hive Tool to gently break apart the brace comb so you can keep on inspecting.
Your bees are working so hard to store up honey that they might overdo it and build so much comb it connects two or more bars. This is called cross-comb, and again, it’s okay! You can either mark the connected bars, leave them, or use our Hive Tool to break apart the comb. We have a blog with useful tips on managing cross comb that will help you with that.
Harvesting Propolis
Honey isn’t the only thing your bees are busy making this time of year. They’re also whipping up propolis, the sticky substance they slather inside the hive to seal cracks and spaces. Propolis doesn’t just help your bees around the hive, though. Its healing and antimicrobial qualities make it perfect for salves and ointments for us humans!
Cold temperatures are perfect for harvesting propolis, and taking it now gives bees time to reseal the hive. The propolis will still be sticky and caulk-like, perfect for scraping off the hive and storing it for your purposes. To see how you can harvest and save propolis, watch the Fall Hive Inspection video in Beepods Lab.
Conclusion
Fall inspections are essential to your bees’ winter survival. Follow our tips to cover all your bases and help your bees survive the winter ahead!
Want a Fall Hive Inspection Step-by-Step?
Join Beepods Lab to access our Fall Hive Inspection video, plus a ton of other educational videos and resources to help take care of your bees.
Kanoe Riedel
Latest posts by Kanoe Riedel (see all)
- This Spring, Don’t Forget Why Bees Are So Important to Our Environment - March 26, 2021
- 11 Awesome Uses for Your Stored Honeycomb - March 2, 2021
- How the Right Beekeeping Equipment Makes Inspections Better for Beekeepers and Bees - February 12, 2021
Kanoe Riedel
Related posts
The Bee Enclosure Module (BEM) was an aluminum box designed to hold over 3400 worker bees and one queen for the student experiment "A Comparison of Honeycomb Structures Built by Apis millifera (SE82-17)." Investigators studied the effects of microgravity on the comb building activities of honeybees.


